I have the instructions ... I "know" what needs to be done ... but I am going to need lots and LOTS of practice. A camera stand has been added to my supplies. It is a little stiff still and hard to adjust exactly where I need it. A good light still needs to be purchased to add shadows where I need them (on the quilting not the edge of the quilt). Moving living room lights around didn't make the cut. I remembered to use the 'close-up' function and then move the camera & the stand back until I got the photo I wanted (wasn't watching how far back I was moving and tripped over a chair). And I did 'bracketing' (taking groups of photos with minor adjustments) until I got something close to what I wanted.
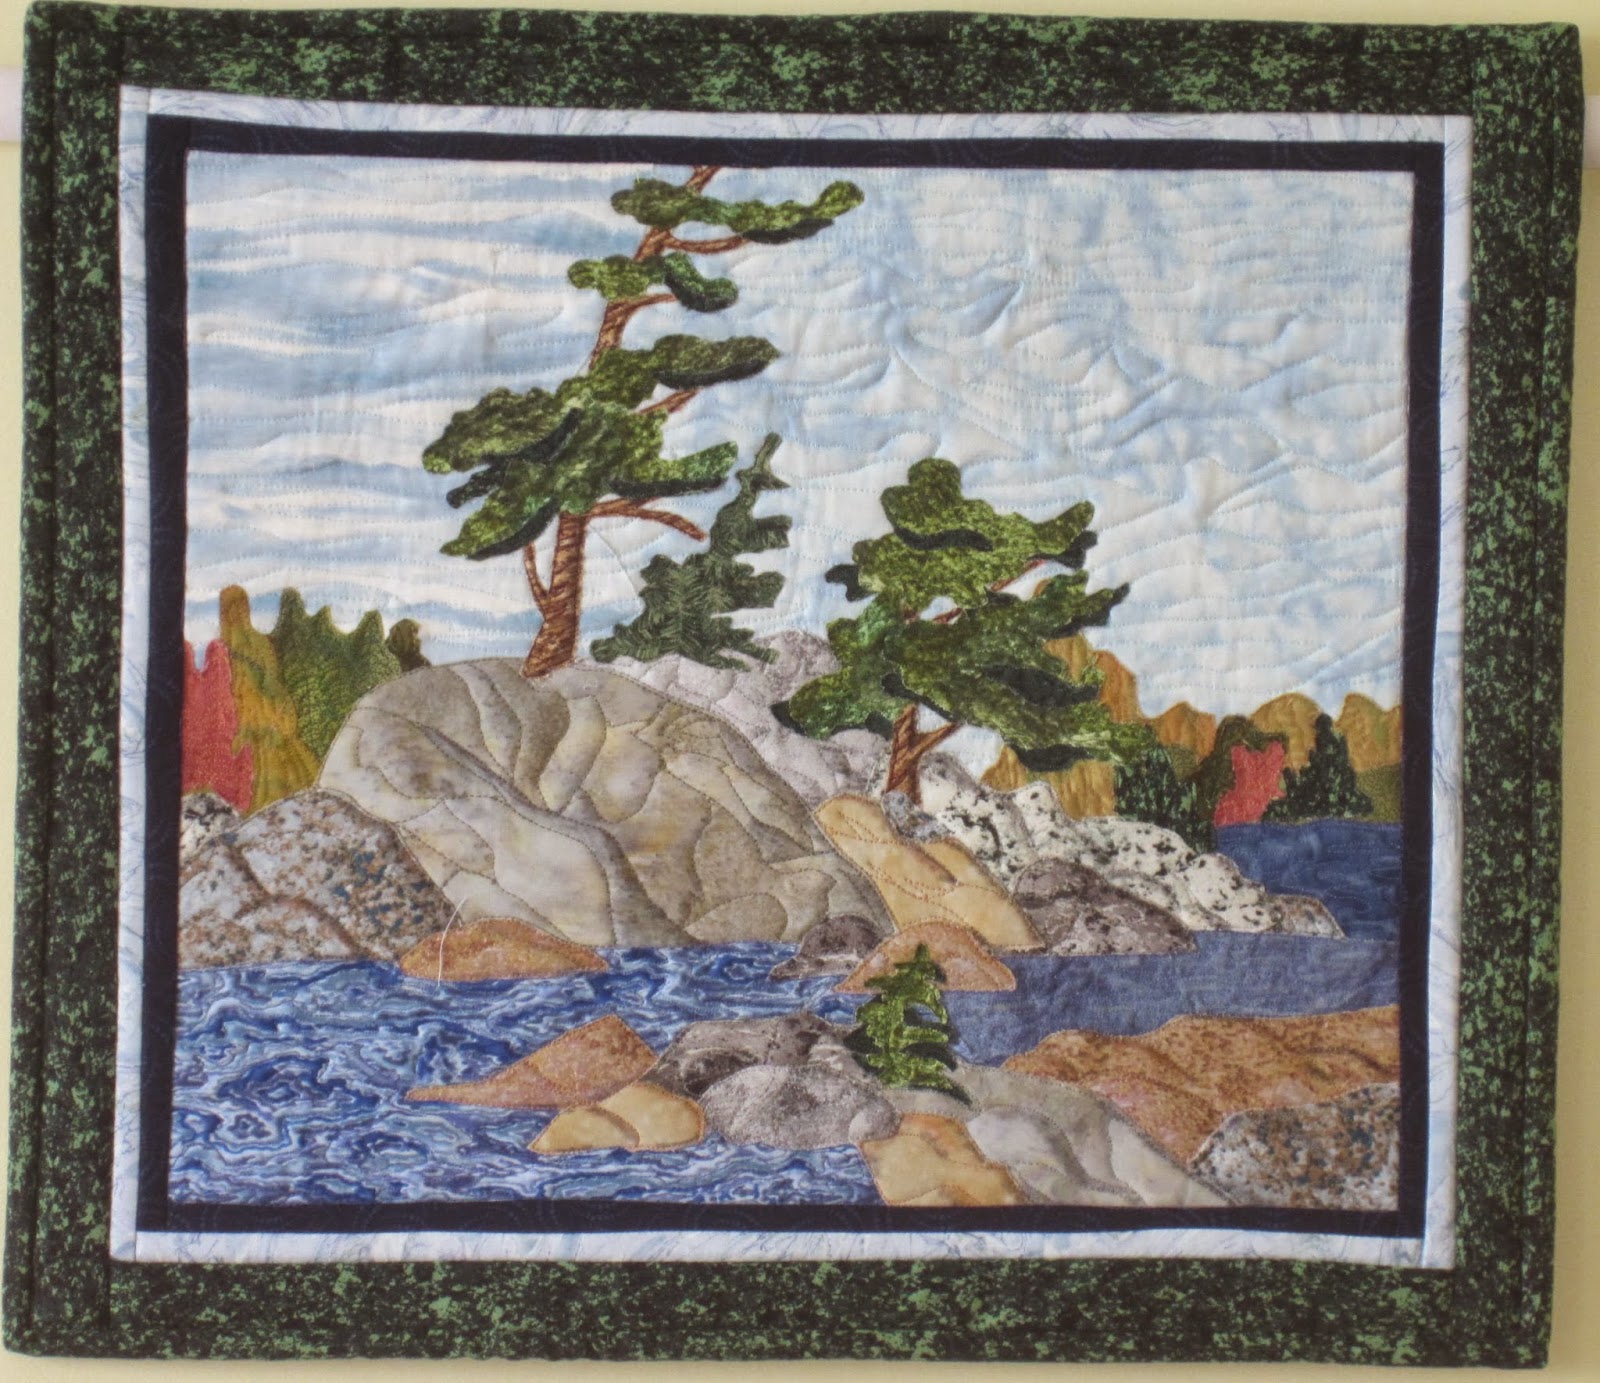
This is the completed "Ontario North - Georgian Bay" art quilt inspired by the Canadian Group of Seven artist, Franklin Carmichael. (It has been sold). (17 X 19.5 inches)
The 2nd art quilt "Ontario North - Algoma" was inspired by the artist J.E.H. MacDonald (16.5 X 19.5 inches).
What I really need is a little Level Bubble on my camera to tell me that the camera is square! After fidgeting with the camera stand for a bit, I seemed to be getting worse, not better ... so, even with some camera & picture-taking knowledge, my pictures are still a bit wonky. :-(


I use an inexpensive level from the hardware store on the camera mount portion of my tripod before I attach the camera. Then I doublecheck in the other direction by laying the level against the face of the lens.
ReplyDeleteThe other useful tool is a tape measure. I put a pin in the centre of the quilt and measure up from the floor. Then I make sure the middle of the lens is at that height. I leave the pin in when I am doing practice shots. It helps me make sure I keep the camera squared to the quilt.
Thanks Chris ... I will try those ideas. I used the level to make sure the quilts were level across the tops ... didn't think to use it for the camera. And I like the pin idea.
ReplyDelete